
How to Prepare a Home for Real Estate Photography: A Practical Pre-Shoot Checklist
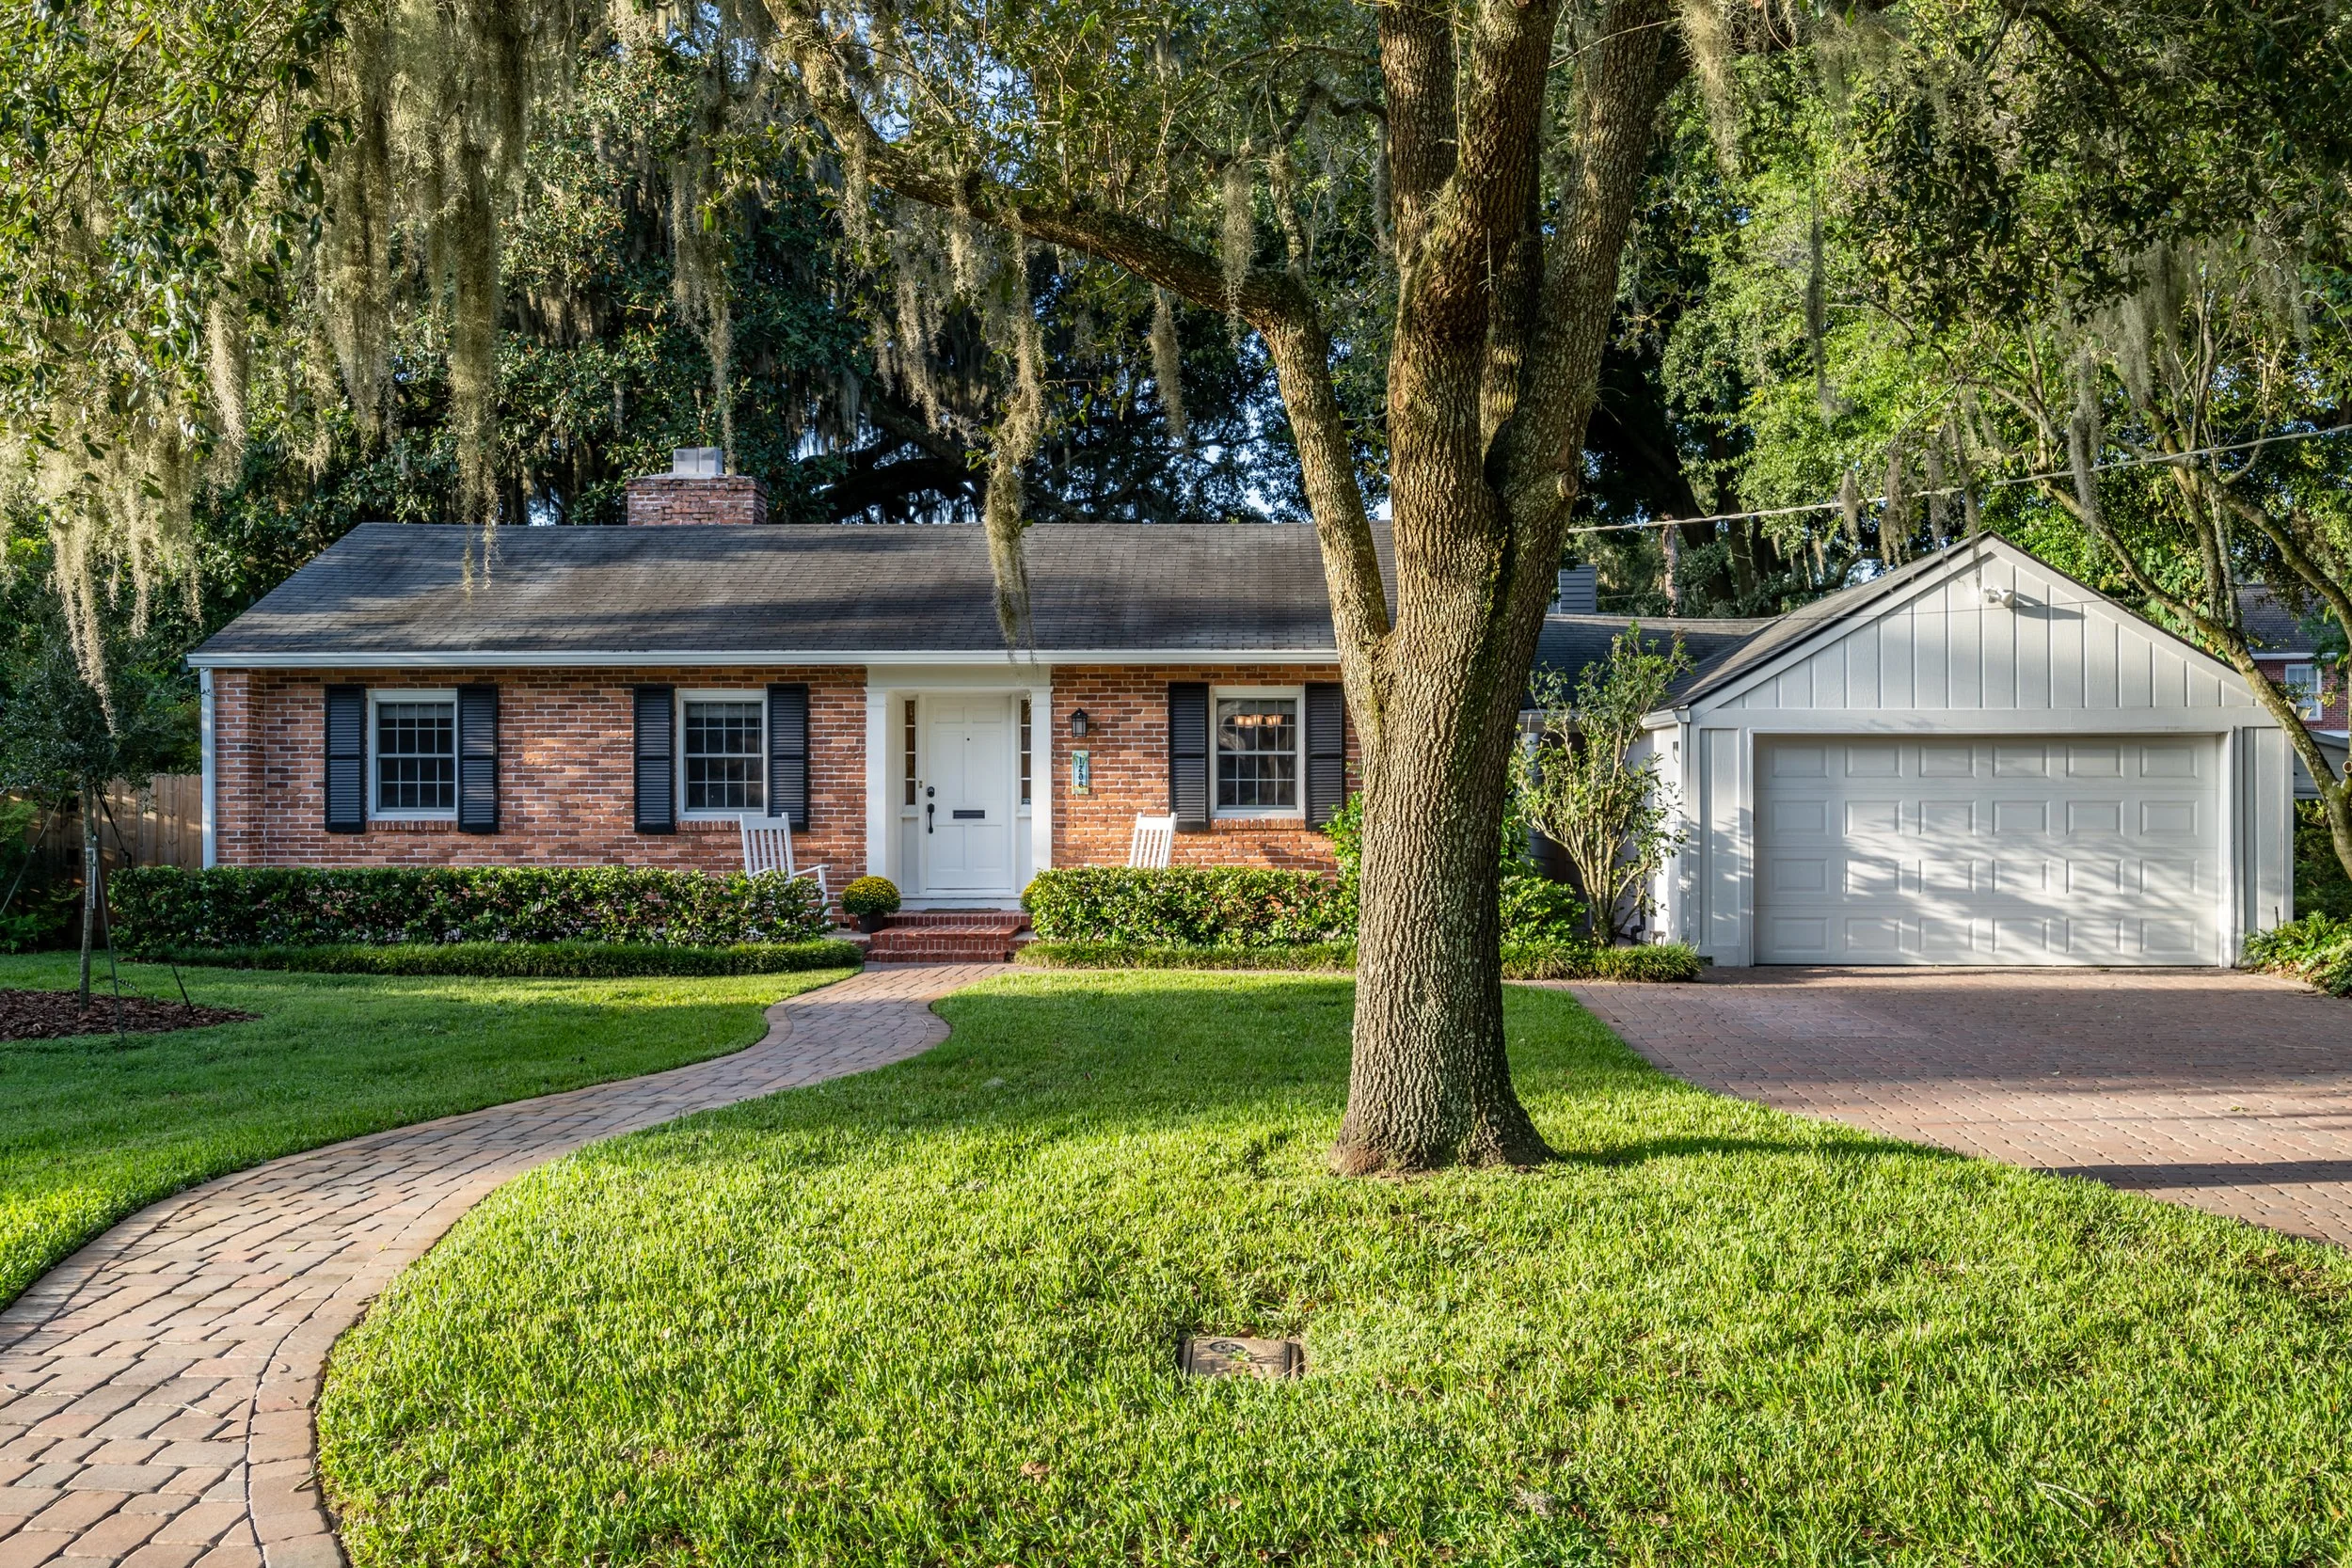
First impressions in real estate happen online. Most buyers scroll through dozens of listings before deciding which homes deserve a visit, and your photos decide whether they click or keep scrolling. Even the best photographer can only capture what's in front of the lens, so how you prepare your home for real estate photography matters as much as the shoot itself.
This checklist walks you through what to do a week before, the day before, and the morning of your shoot, room by room. Need a photographer? Book a real estate photo shoot with us!
Why Preparing Your Home for Photos Matters
Listings with bright, clean, professional photos tend to get more views, more showing requests, and stronger offers. Small details like a crooked rug, a cluttered counter, or a burnt-out bulb look much bigger in a wide-angle photo. Good preparation helps buyers picture themselves living in the space.
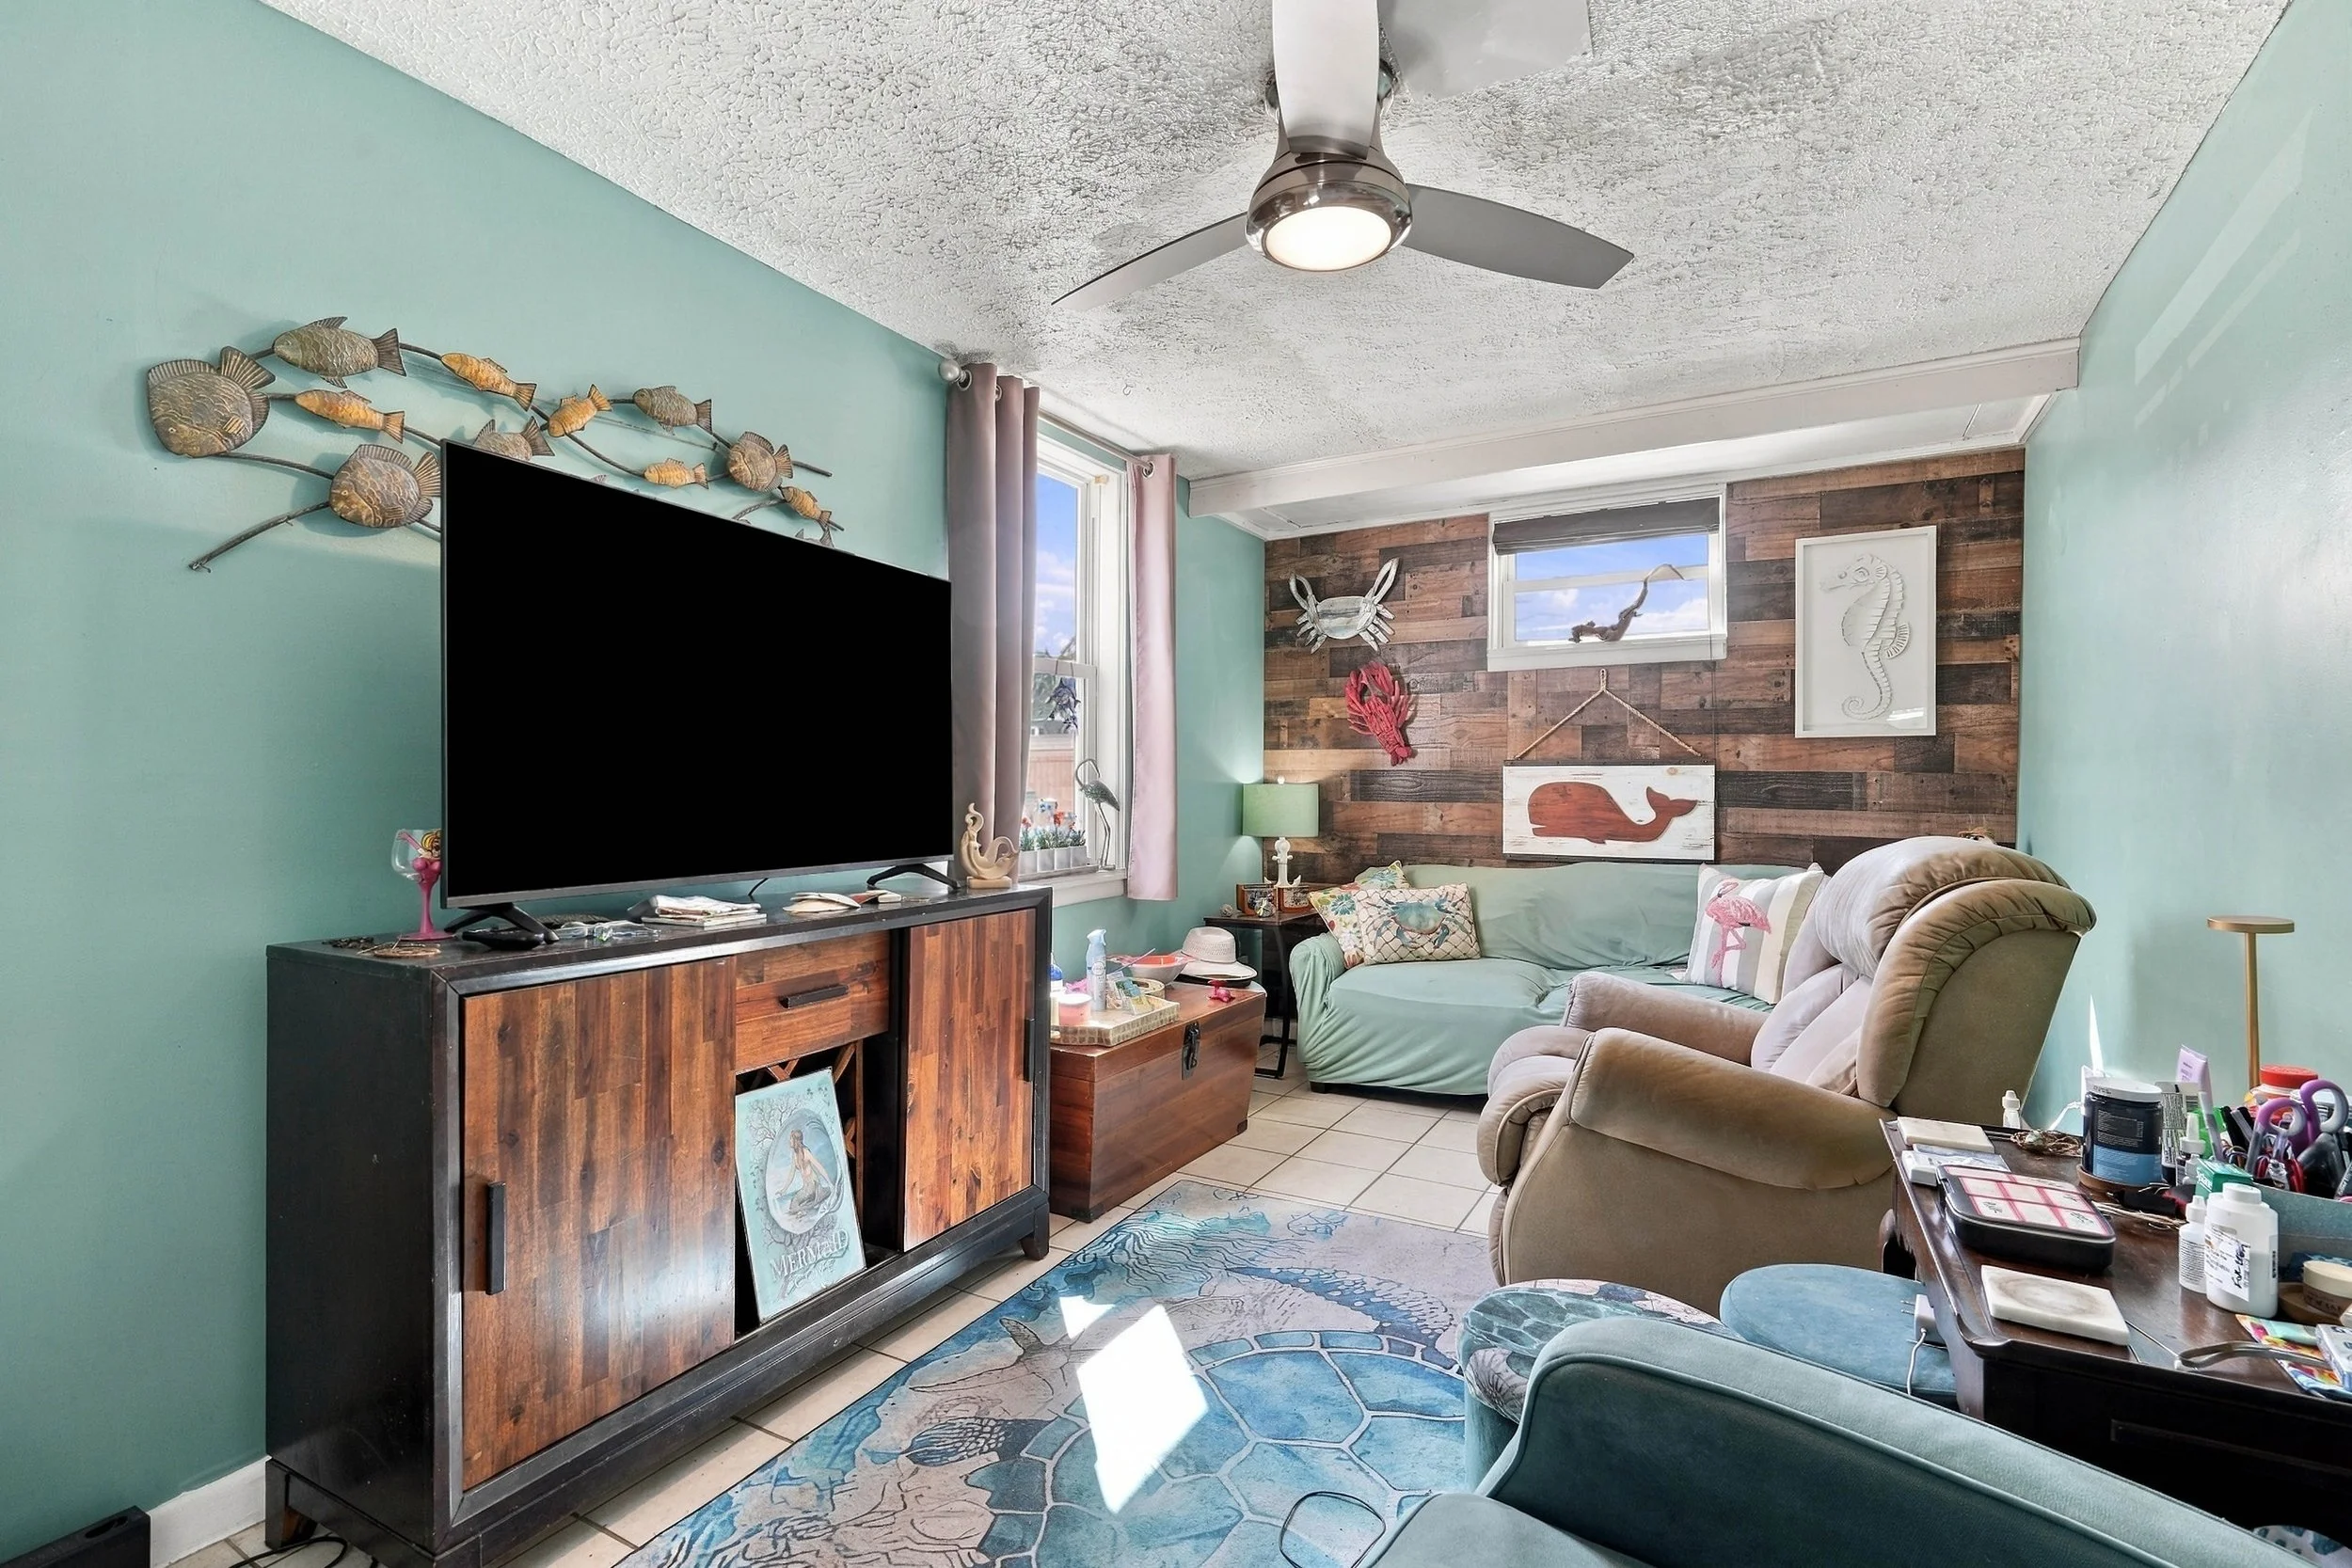
Before
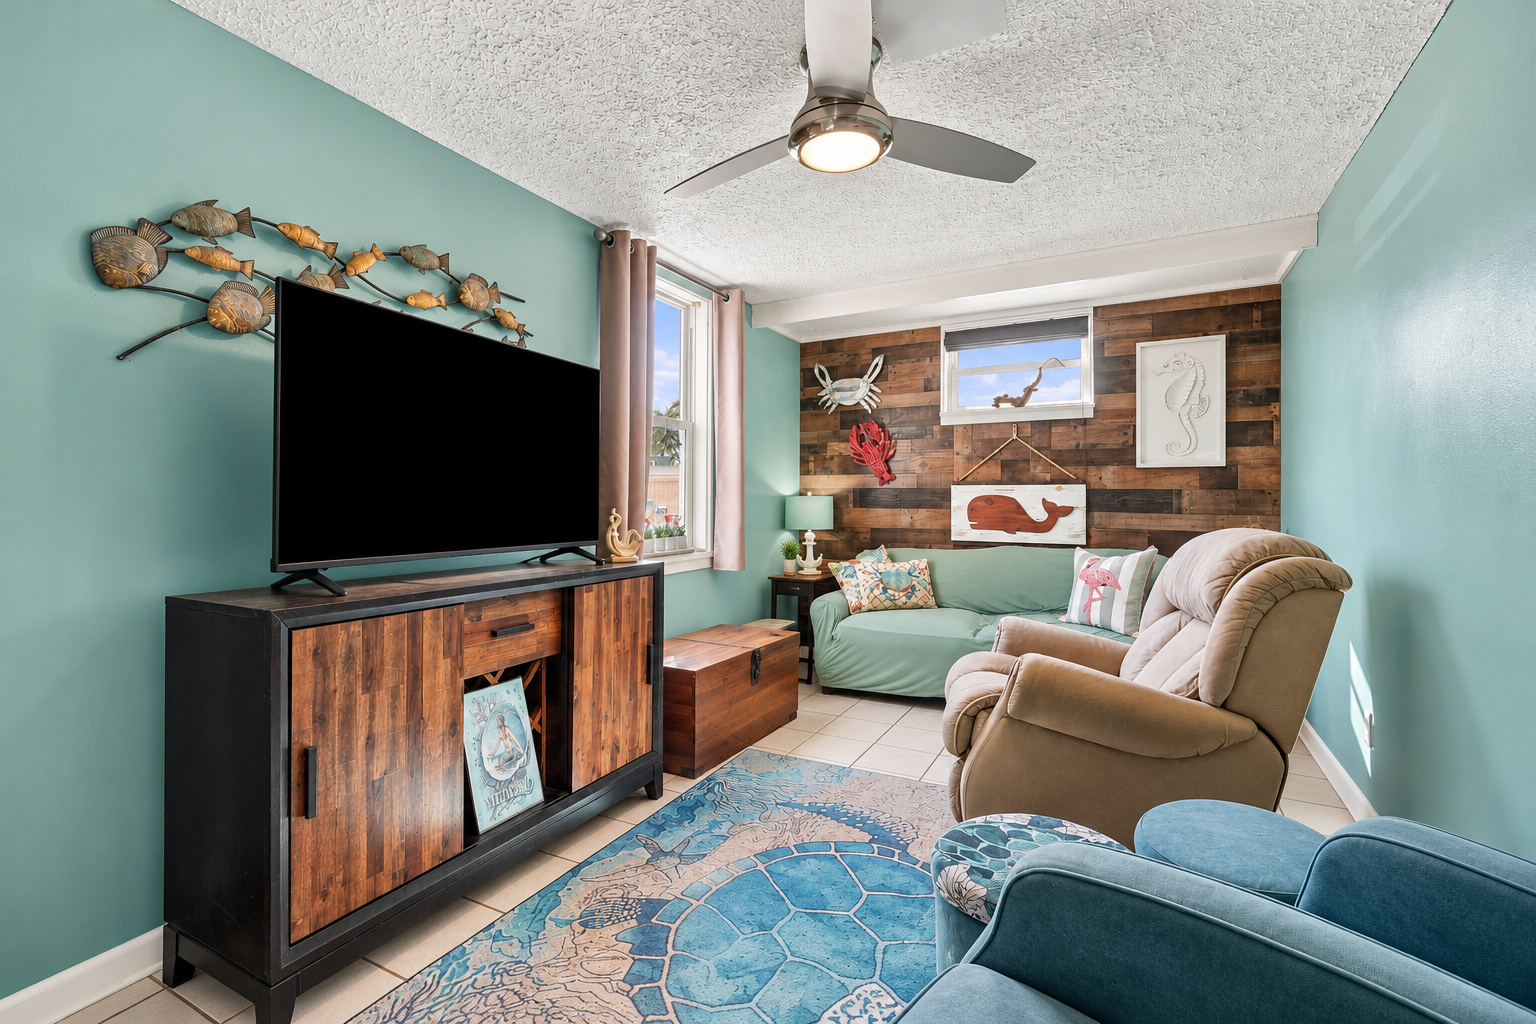
After
One Week Before: Start the Big Jobs
Declutter aggressively. If an item isn't essential or decorative, put it away. Use a storage unit or garage if you need to.
Depersonalize. Remove family photos, refrigerator magnets, diplomas, and heavy personal collections. Buyers should see a home they could own, not yours.
Handle repairs. Fix small issues that cameras pick up: chipped paint, leaky faucets, cracked outlet covers, sticky doors, and stained grout.
Deep clean. Consider hiring a professional cleaner, especially for windows, floors, and bathrooms. Dirty windows can make a bright room look dull.
Plan your curb appeal. Schedule yard work now so it's finished in time.
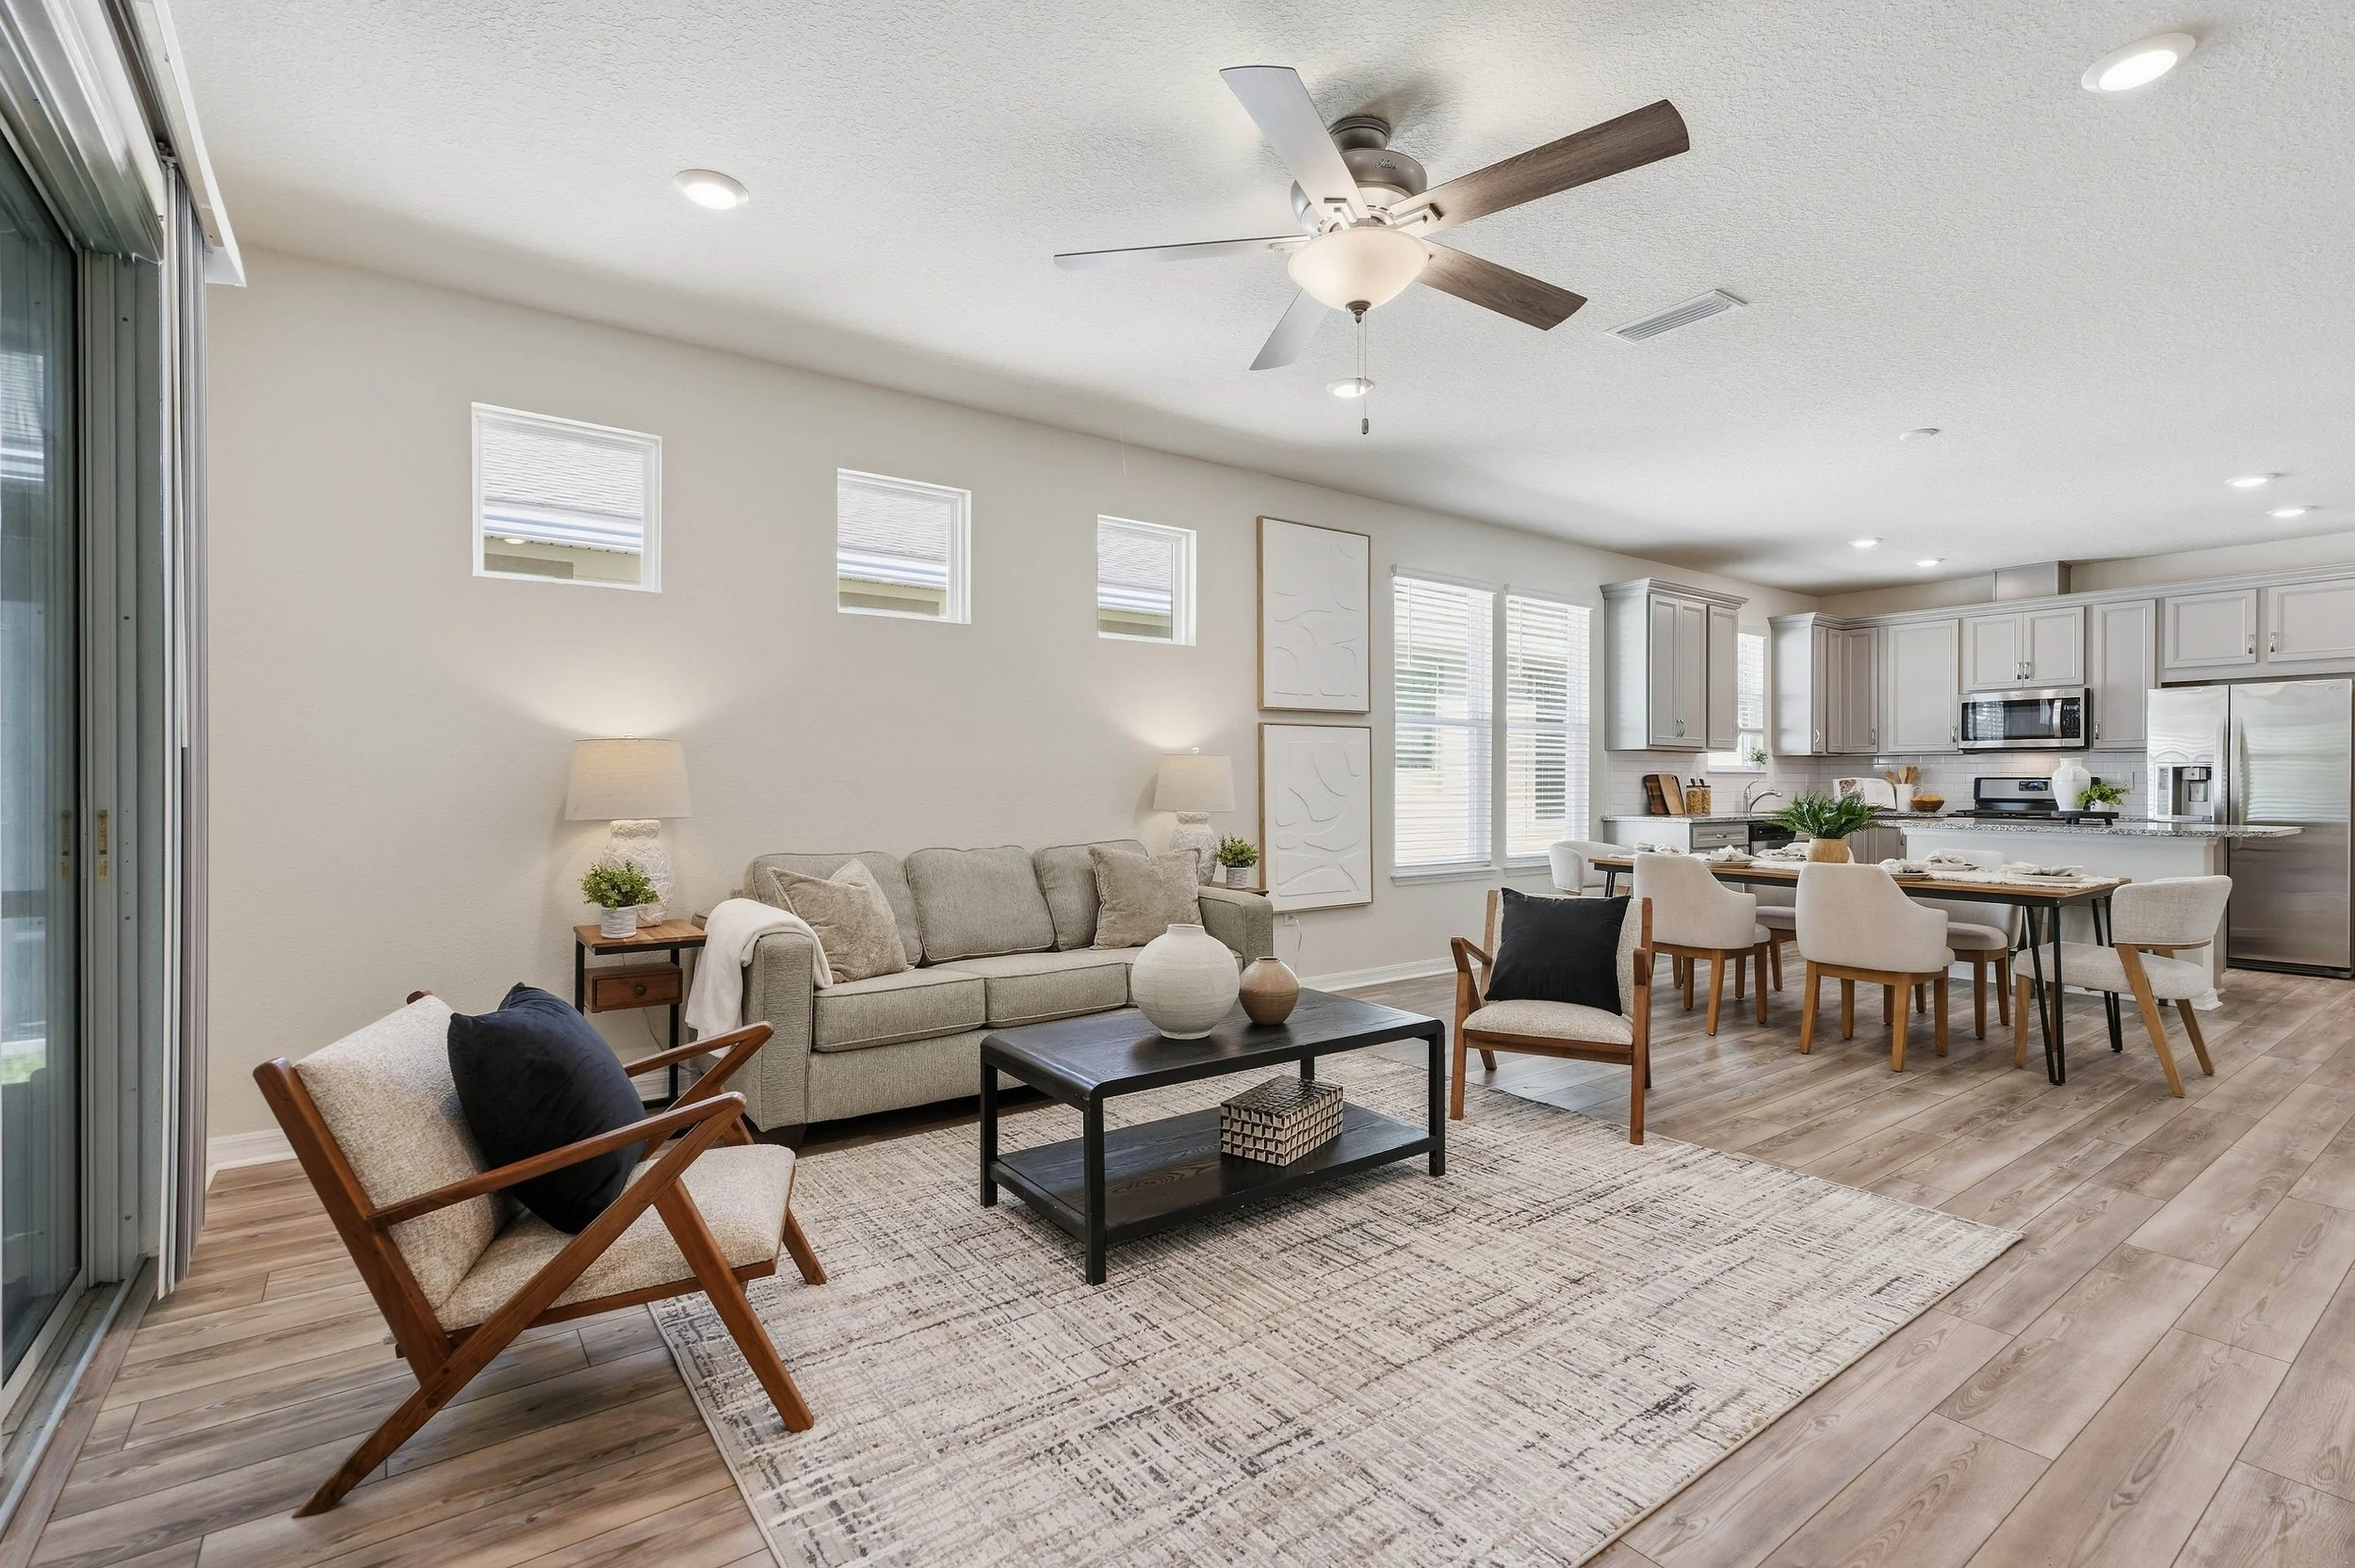
Decluttering helps buyers focus on the home, not the belongings.
The Day Before: Stage and Polish
Clean the details. Wipe baseboards, light switches, door handles, and ceiling fans. Vacuum carpets so the lines show, and mop hard floors.
Replace bulbs. Use matching bulbs with the same color temperature (warm white, around 2700K to 3000K, is common) so lighting looks consistent from room to room.
Do laundry and put it away. Hampers, drying racks, and laundry piles should be out of sight.
Prepare pets. Arrange for pets to be out of the house during the shoot. Remove bowls, beds, toys, and litter boxes, and vacuum for hair.
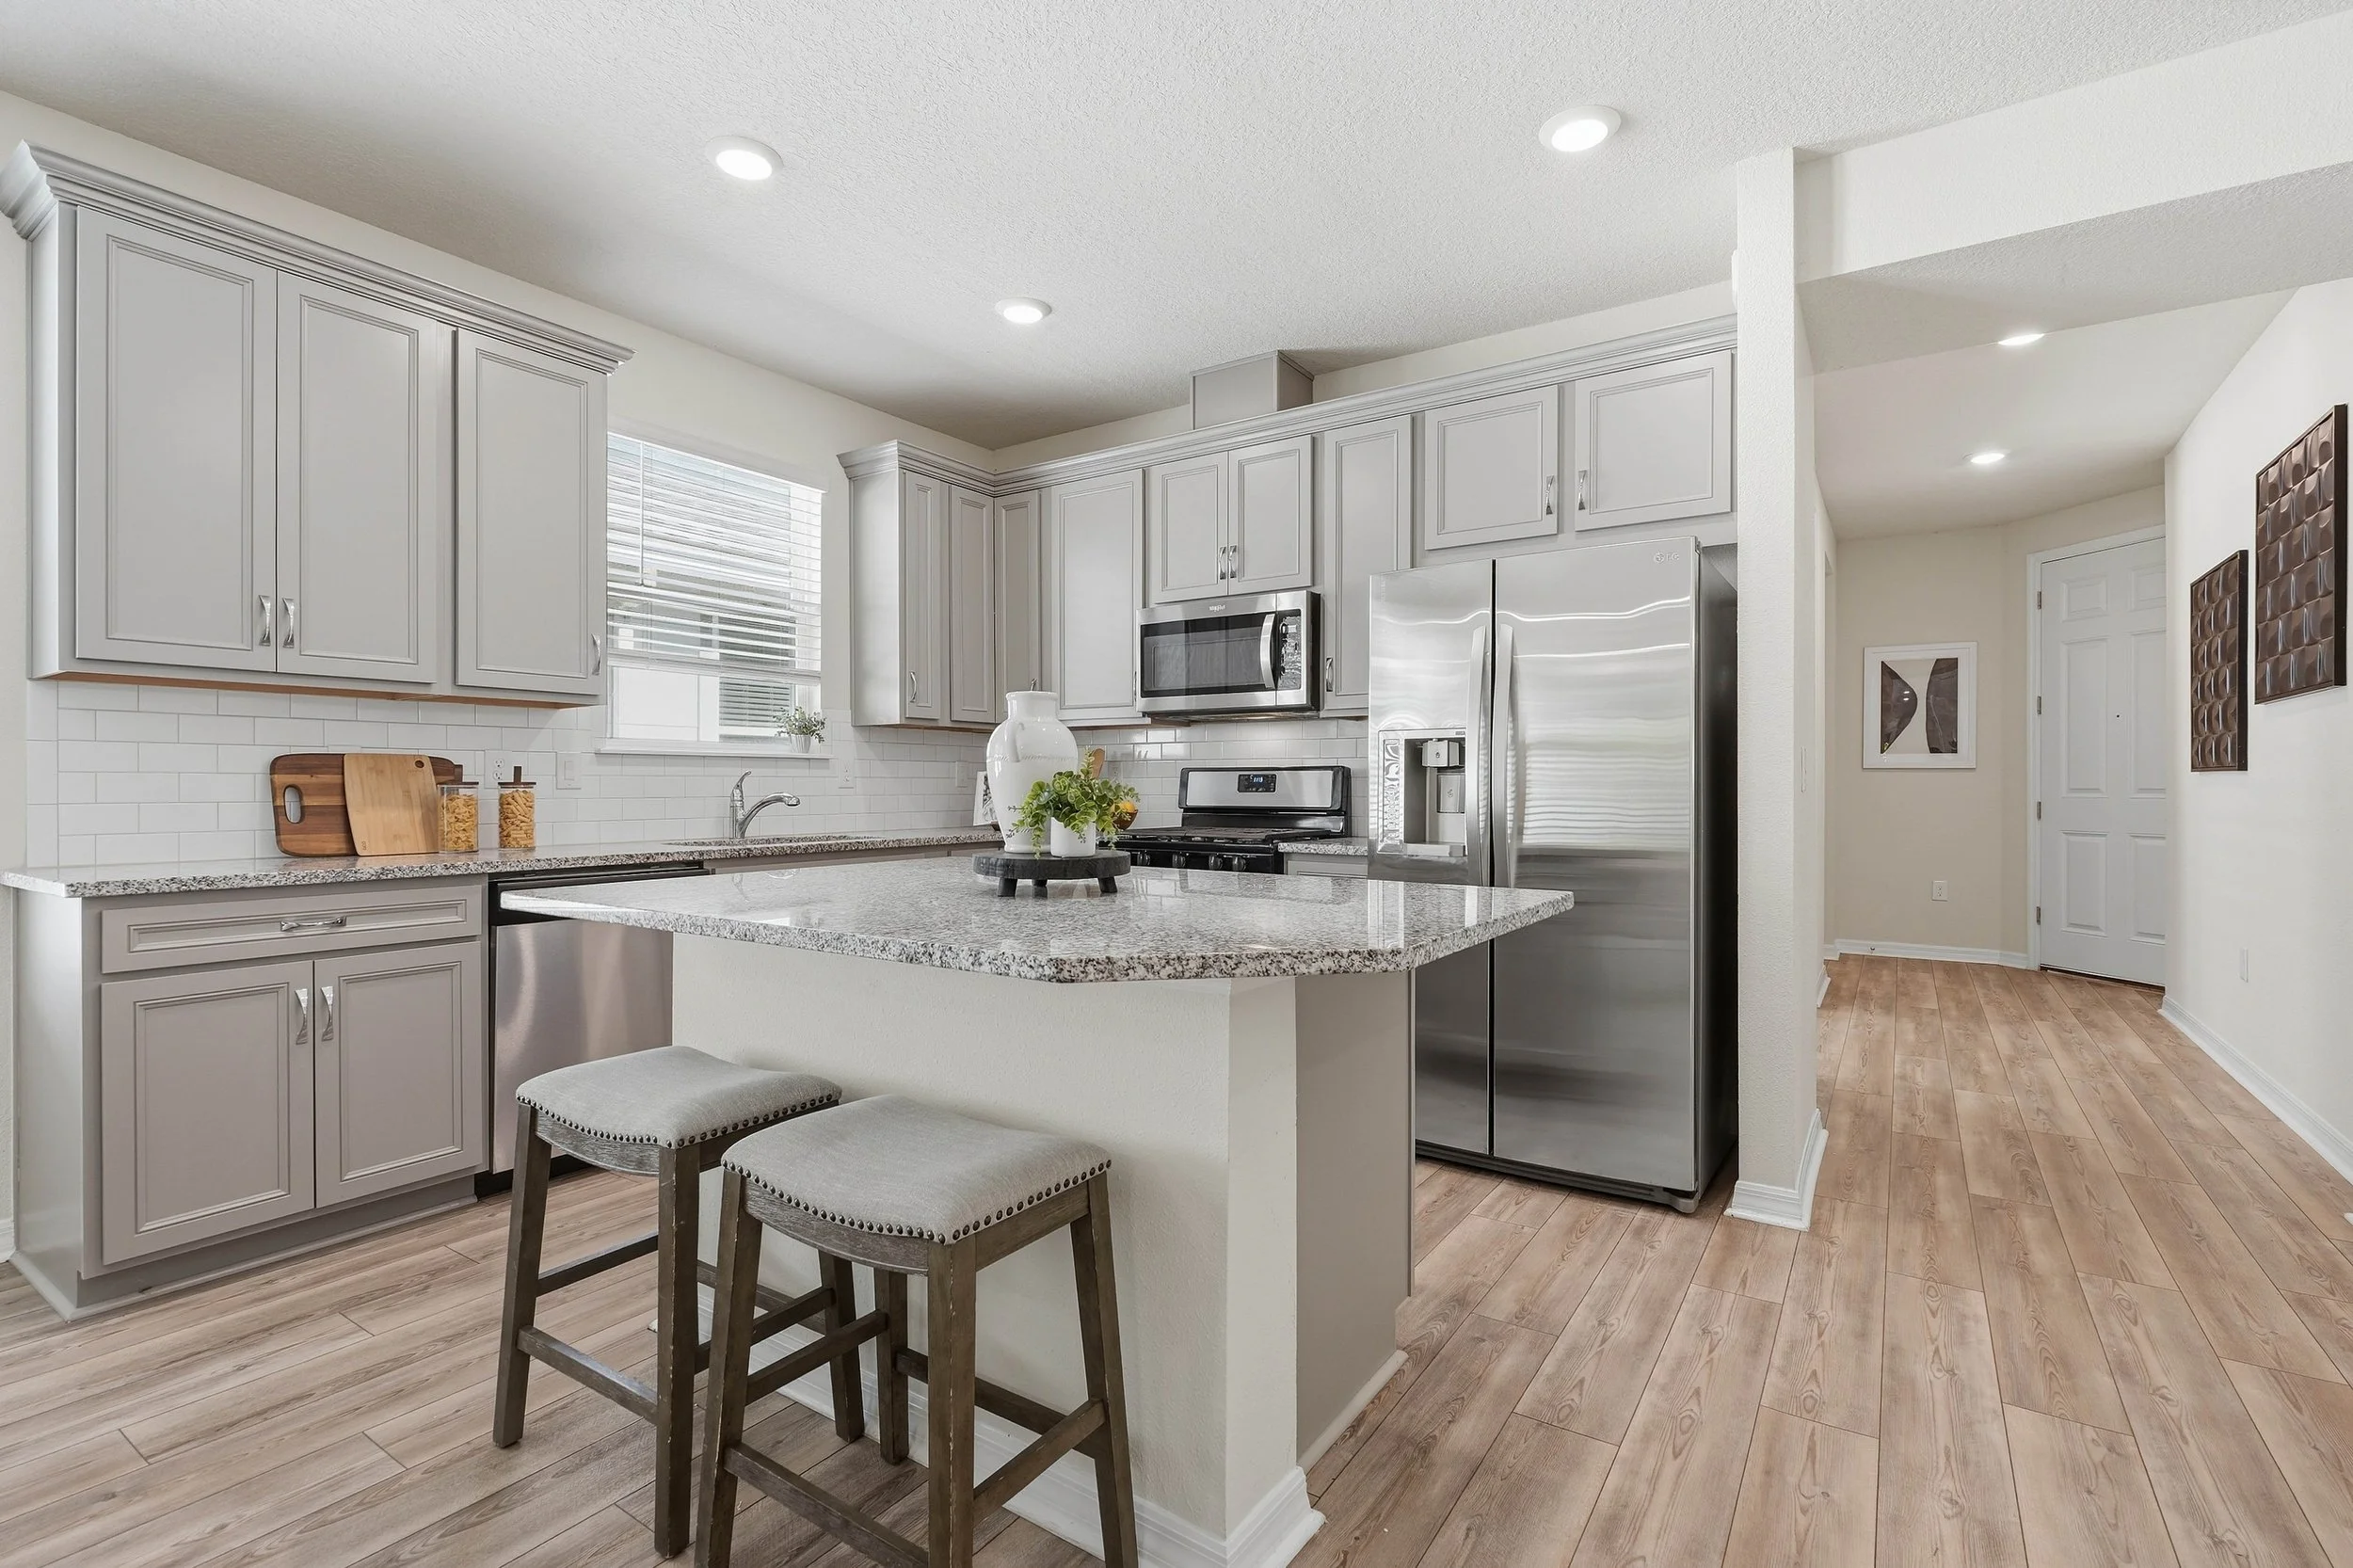
Clean countertops and consistent lighting help kitchens photograph beautifully.
Room-by-Room Real Estate Photography Checklist
Exterior and Curb Appeal
Mow, edge, and water the lawn
Trim bushes and remove dead plants
Sweep the driveway, porch, and walkways
Put away hoses, trash bins, and toys
Clean the front door and add a fresh doormat
Move cars off the driveway and the street in front of the house
Add seasonal flowers or a potted plant for color
Living Room
Clear coffee and side tables, leaving one or two decor pieces
Fluff pillows and fold throws neatly
Remove remotes, cables, and cords
Turn TVs off (a black screen looks cleaner than a reflection)
Arrange furniture to show flow and space
Kitchen
Clear counters almost entirely, keeping maybe a bowl of fruit or a plant
Hide dish soap, sponges, dish racks, and towels
Empty and hide the trash can
Wipe down appliances and remove magnets and papers from the fridge
Clean the sink until it shines
Bedrooms
Make the bed with crisp, wrinkle-free linens
Clear nightstands down to a lamp and one or two items
Put away clothes, shoes, and chargers
Leave closet doors open only if they're tidy
Bathrooms
Scrub tubs, showers, and toilets until spotless
Remove toiletries, toothbrushes, and bath mats
Close toilet lids
Hang fresh, matching white or neutral towels
Clean mirrors so the photographer isn't visible in reflections
Home Office, Basement, and Garage
Tidy desks and hide cords
Stage bonus spaces with a clear purpose (office, gym, playroom)
Organize garage shelves and clear floor space
The Morning of the Shoot
Open all blinds and curtains to let in natural light
Turn on every light, including lamps and under-cabinet lighting, unless your photographer advises otherwise
Do a final walkthrough to fix crooked pillows, closed doors, and visible clutter
Hide personal items, including mail, bins, and valuables
Leave the property if possible. Photographers work faster and get better angles without people in the way
Checklist done? Schedule your real estate photo shoot.
Common Mistakes to Avoid
Skipping decluttering. Clutter shrinks rooms and distracts buyers.
Leaving personal items visible. Photos and memorabilia make it harder for buyers to imagine themselves there.
Mixing light bulb temperatures. Yellow, white, and blue light in one photo looks inconsistent.
Forgetting the exterior. The front of the home is often the hero image.
Shooting on a gloomy day without a plan. Ask your photographer about rescheduling or editing options.
Staying in the house during the shoot. Reflections and interruptions slow the process.
Frequently Asked Questions
How long does it take to prepare a home for real estate photography?
Plan on at least one week for decluttering, repairs, and cleaning. If your home needs major work, allow two weeks or more.
Should I stage my home before photos?
Yes. Even light staging, such as rearranging furniture, adding fresh linens, and removing clutter, noticeably improves how a home looks in photos. Virtual staging is another option for empty homes.
What time of day is best for real estate photography?
Most photographers prefer mid-morning to early afternoon, when natural light is brightest. Exteriors are often shot near golden hour or twilight. Trey can recommend the best timing based on your home's orientation. Book a session.
Do I need to be home during the photo shoot?
It's best not to be. Leaving gives your photographer freedom to move furniture, adjust lighting, and shoot from every angle.
Should I turn the lights on or off for photos?
Generally, turn them on. Your photographer may adjust based on the room, so follow their guidance.
Get Your Home Ready for Real Estate Photography
Preparing your home for real estate photography doesn't have to be overwhelming. Declutter, clean, fix small issues, and let in as much light as possible. A little preparation gives your photographer the best material to work with and gives buyers a reason to book a showing.

Ready to show off your listing? Book your real estate photo shoot with us and get photos that make buyers stop scrolling.
